
Lightsail is a service provided by AWS and it’s a very quick and easy way to deploy your WordPress site. You can create an on-demand WordPress instance and you only pay what you use.
Here in this tutorial, We will use the AWS Marketplace image for WordPress provided by Bitnami, which will install WordPress with Apache Server.
If you are looking to install WordPress with Nginx, I have a guide written on How to install WordPress with Nginx on AWS Lightsail.
First, to begin with, setup you will need an AWS account. go to AWS and create an account.
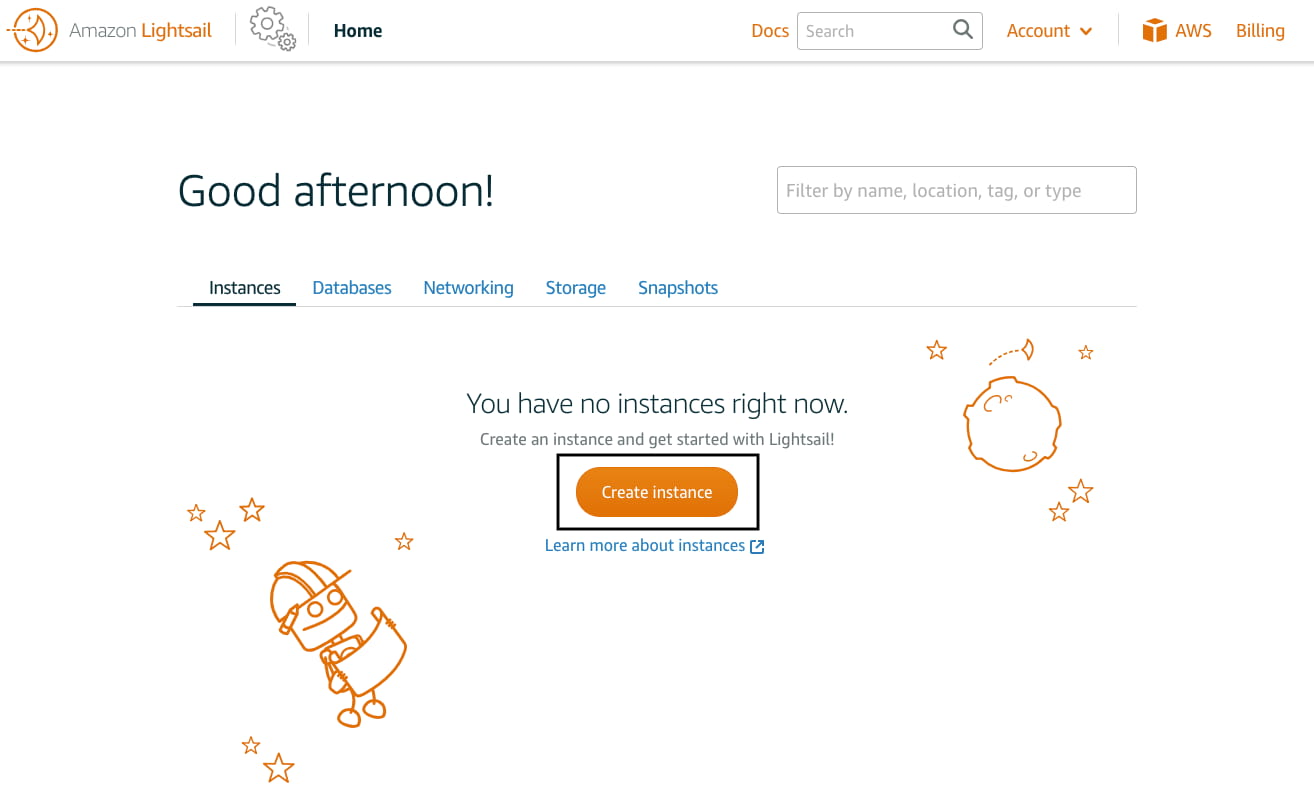
After creating an account go to AWS Lightsail and click on Create Instance.
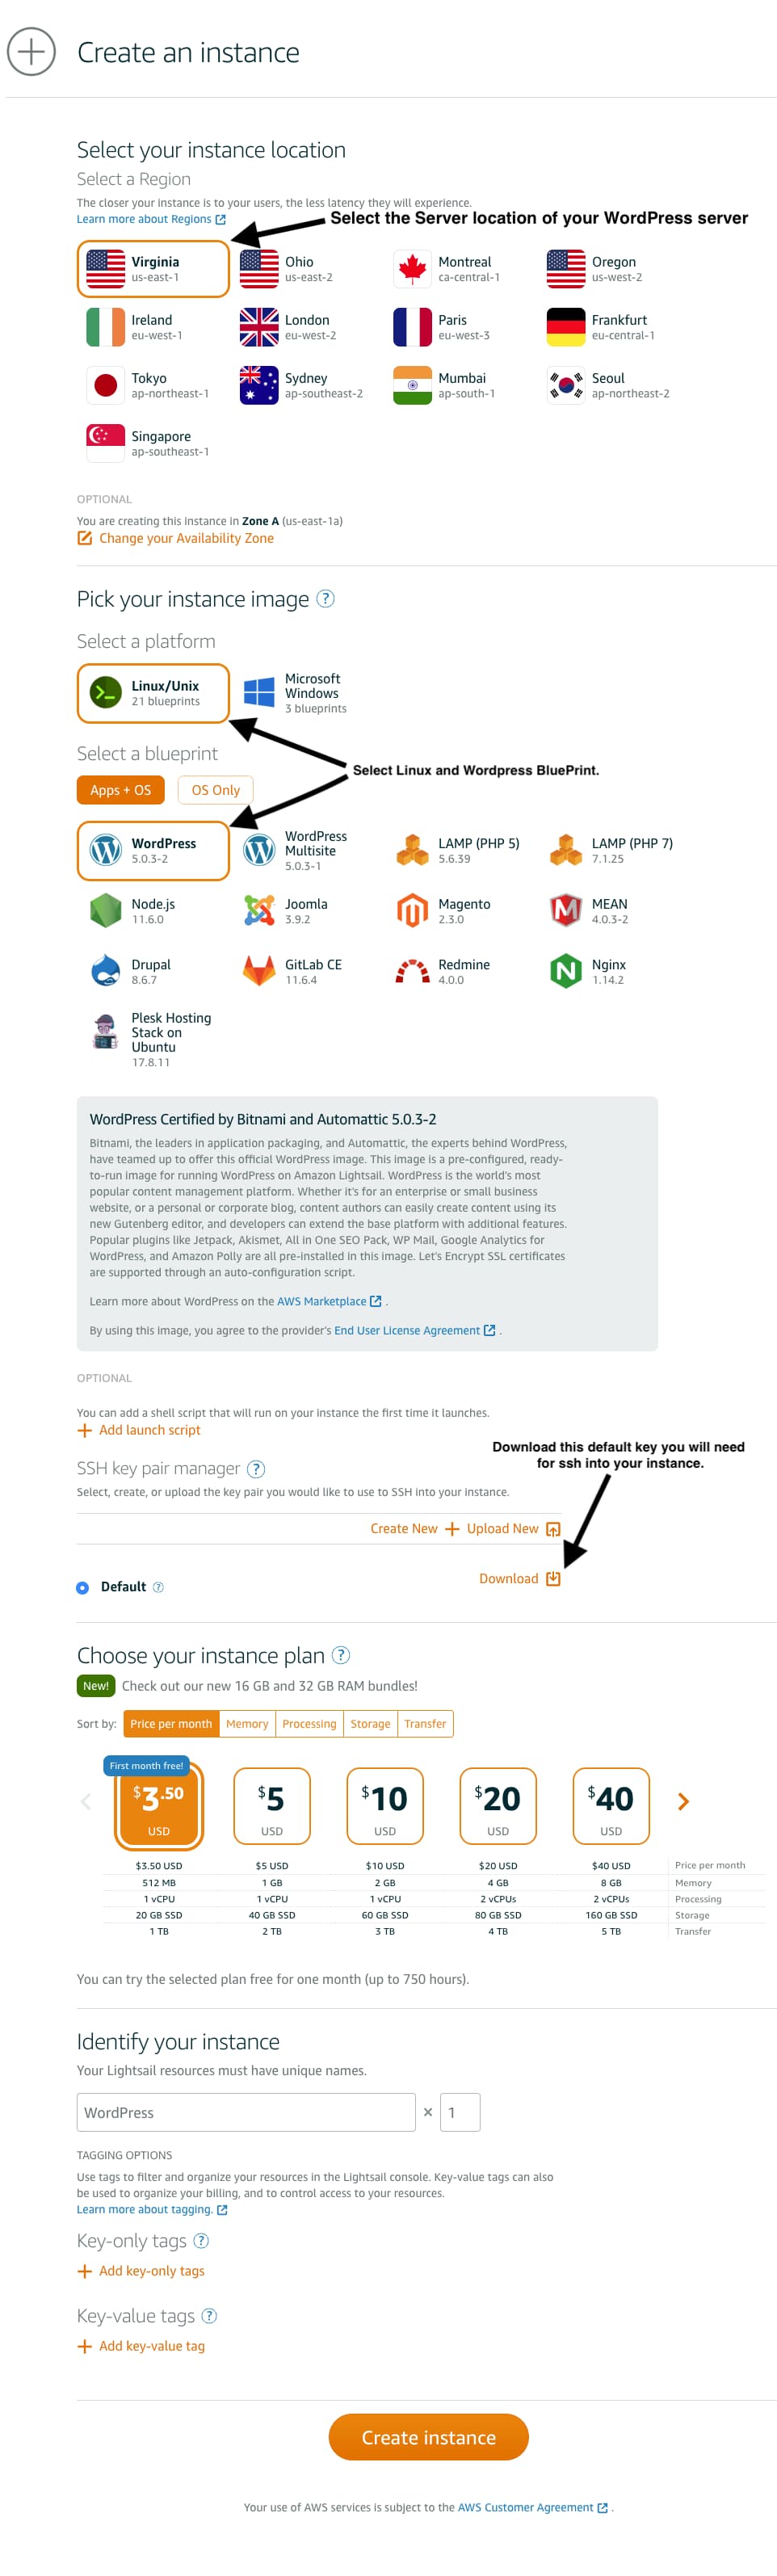
After that select the server location of your WordPress server and select the Linux platform and choose WordPress blueprint.
you can download the SSH key if you want to use your local terminal to access your AWS Lightsail instance. ( you can also download the SSH key from Account -> SSH keys)
Once you click on Create Instance it will take a couple of minutes to ready your WordPress instance.
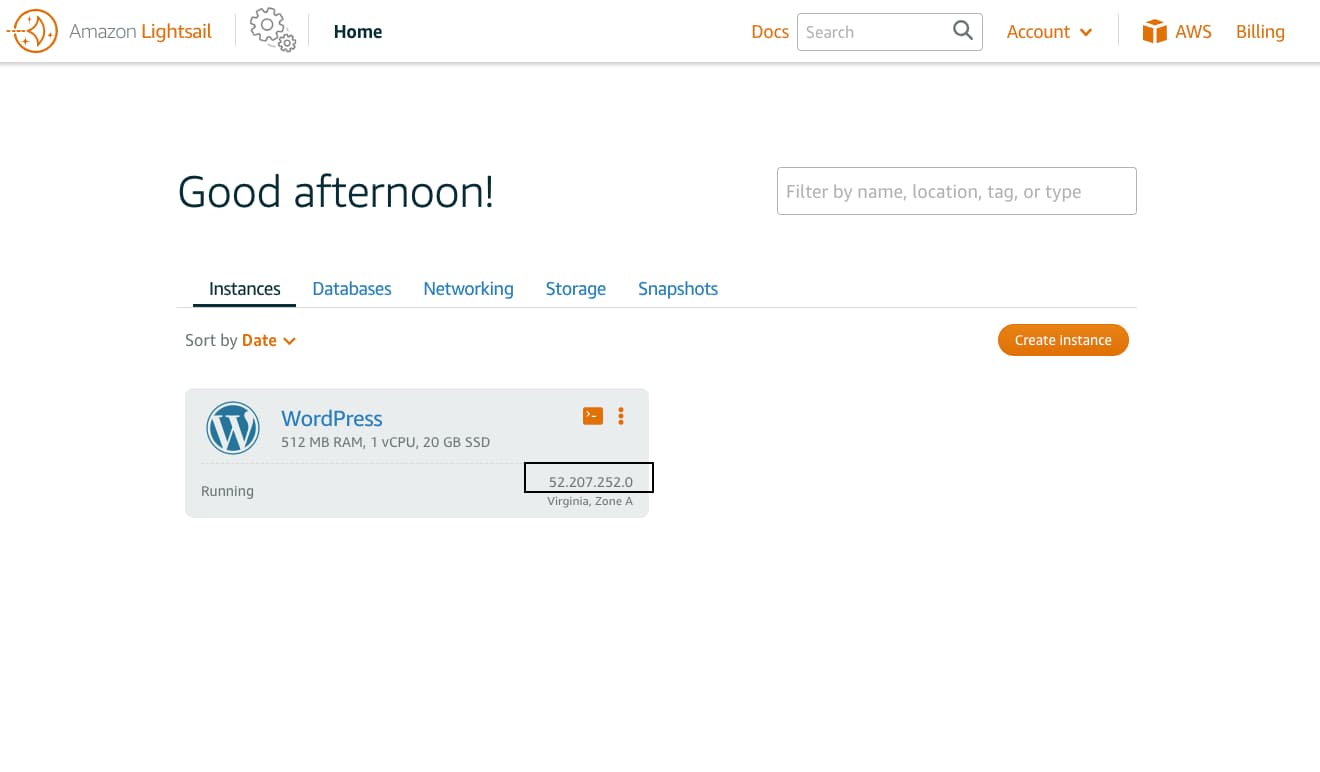
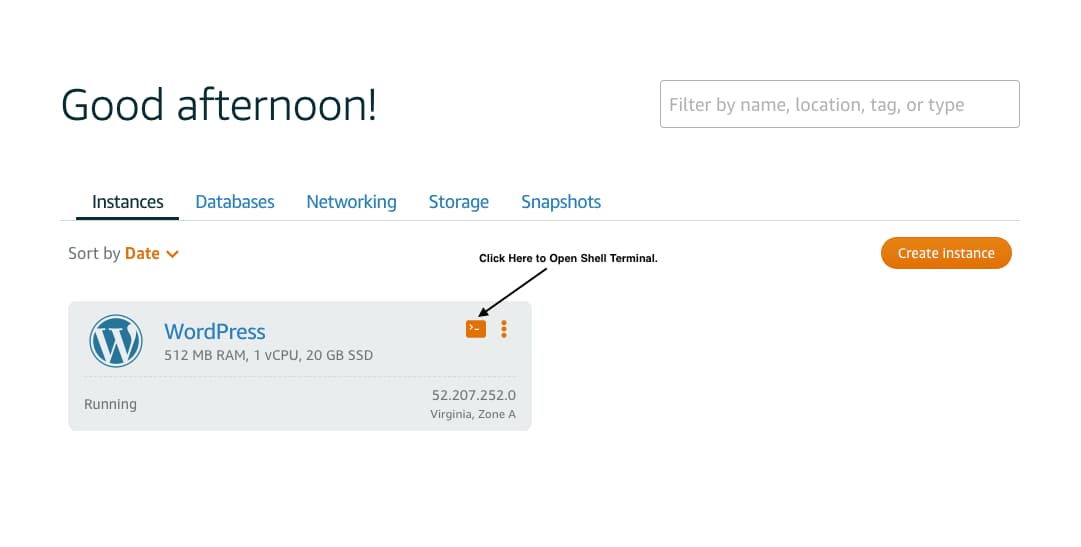
Once your WordPress instance is ready you will see, below screen with IP attached.
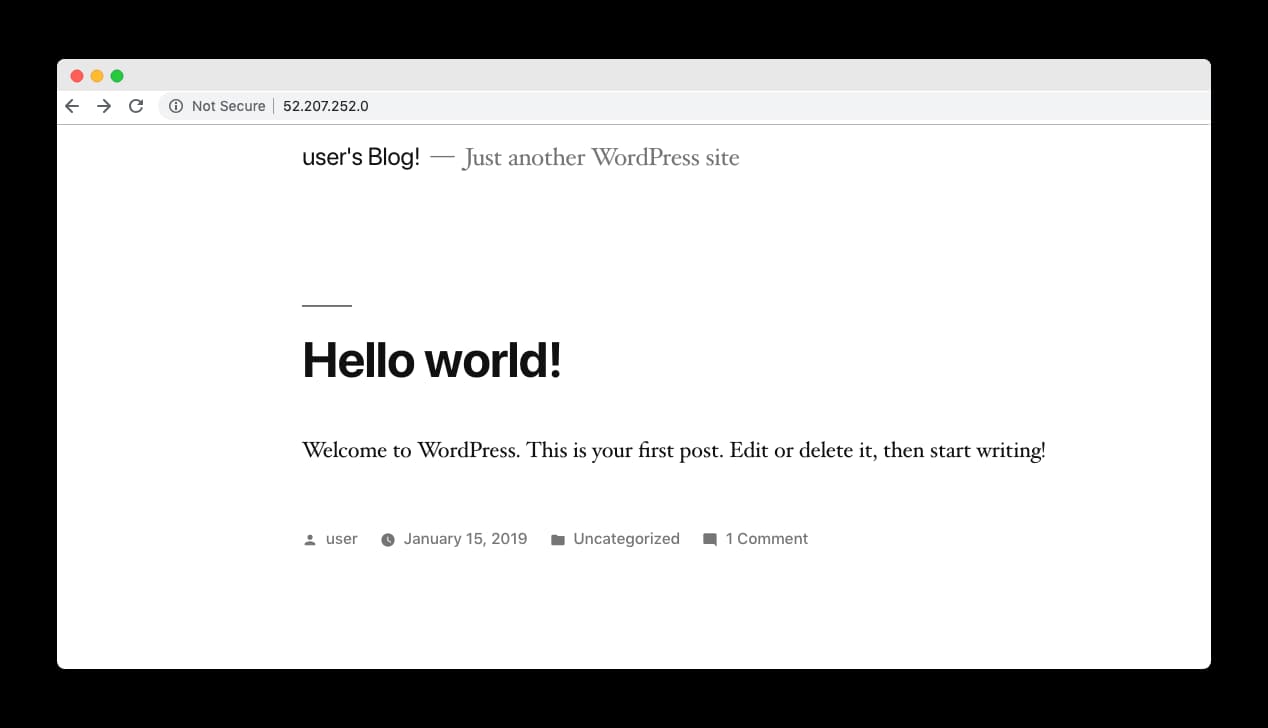
Now If you open that IP and you will see WordPress Screen is showing up
But you don’t have a password to login to the WordPress admin dashboard.
Let’s get the password for your WordPress admin user.
For that open the shell terminal by click on Instance’s shell icon as shown in the below screen.
Once your Shell Terminal open’s type below command to get the password. See the below image in Red Square is your password for the WordPress dashboard.
cat bitnami_application_password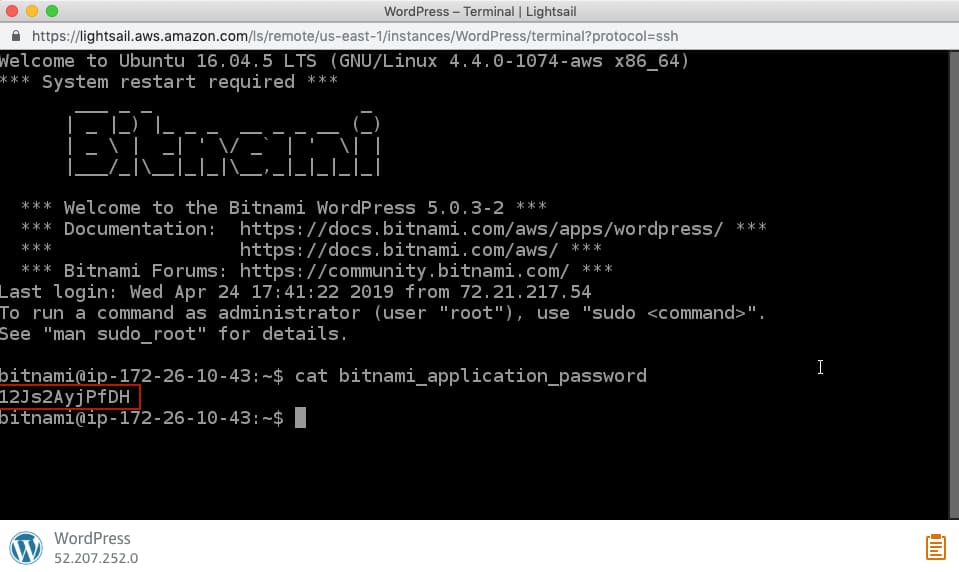
now go to your WordPress admin login and enter the username as user and password we got from WordPress shell
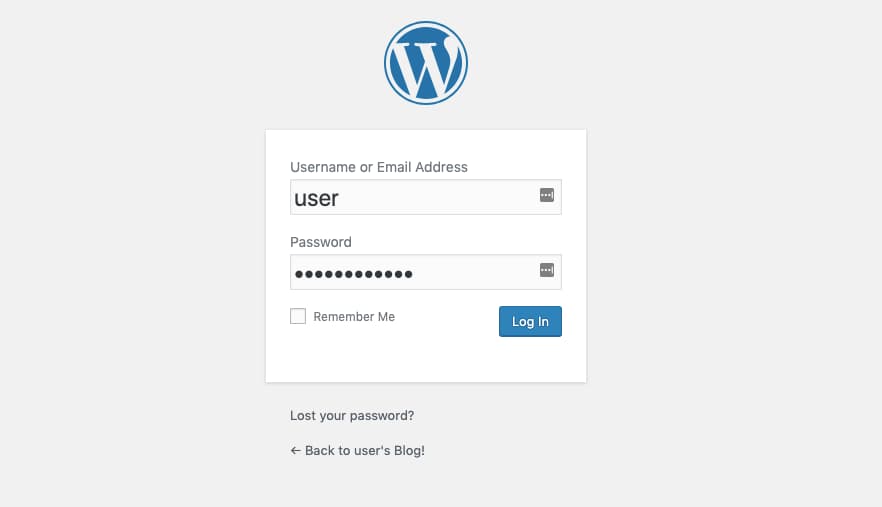
Now your WordPress installation is complete, the first thing you need to do is change the WordPress password that we got form LightSail shell terminal.
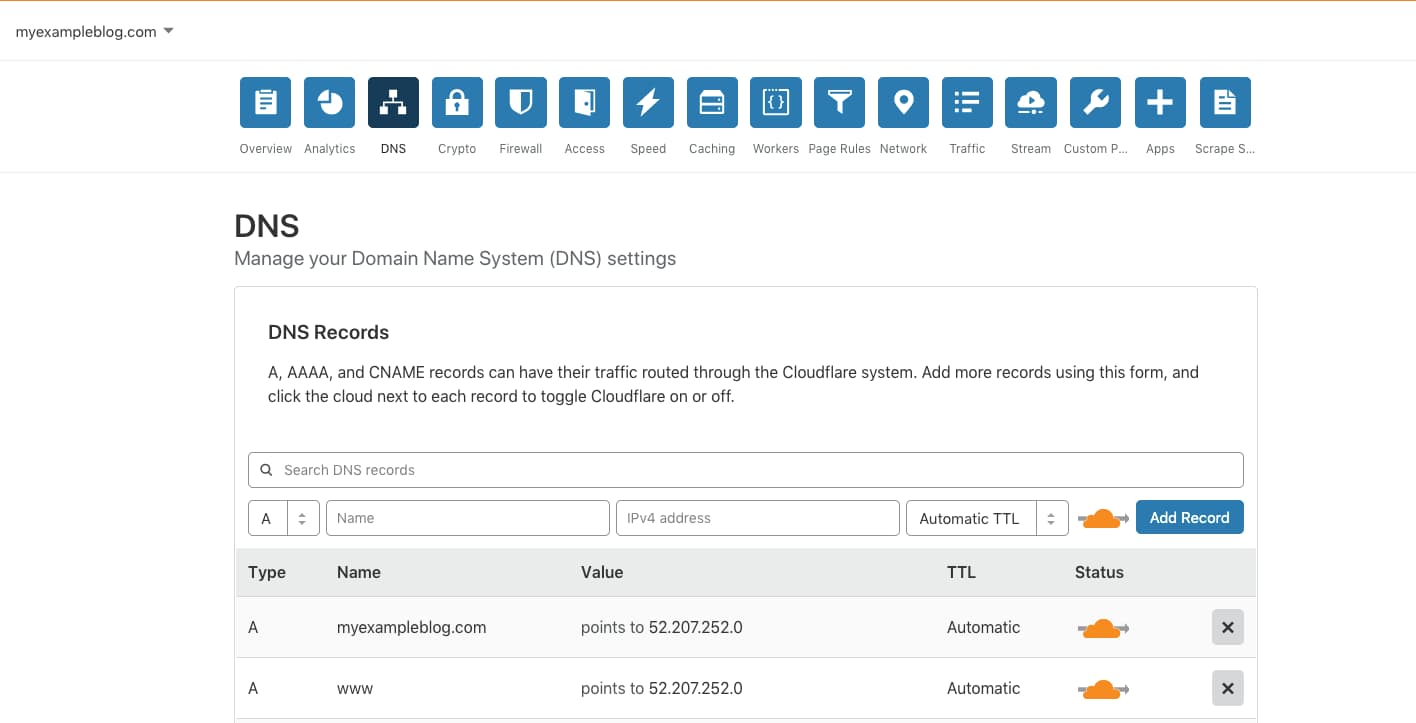
Now, you want to attach your WordPress Lightsail instance to a domain name?
go to the DNS and add A record points to your Server IP
Now, one last thing we need to add the domain name in our WordPress installation
because we install WordPress image directly we can’t change WordPress Address (URL) from Settings > General.
we have to go to our wp-config.php file in the root of our WordPress and change the address.
open shell terminal of your WordPress installation.
then go the wp-config.php file by the following command.
nano /opt/bitnami/apps/wordpress/htdocs/wp-config.phpNow replace the following block in the file with your WordPress domain name,
define('WP_SITEURL', 'http://' . $_SERVER['HTTP_HOST'] . '/');
define('WP_HOME', 'http://' . $_SERVER['HTTP_HOST'] . '/');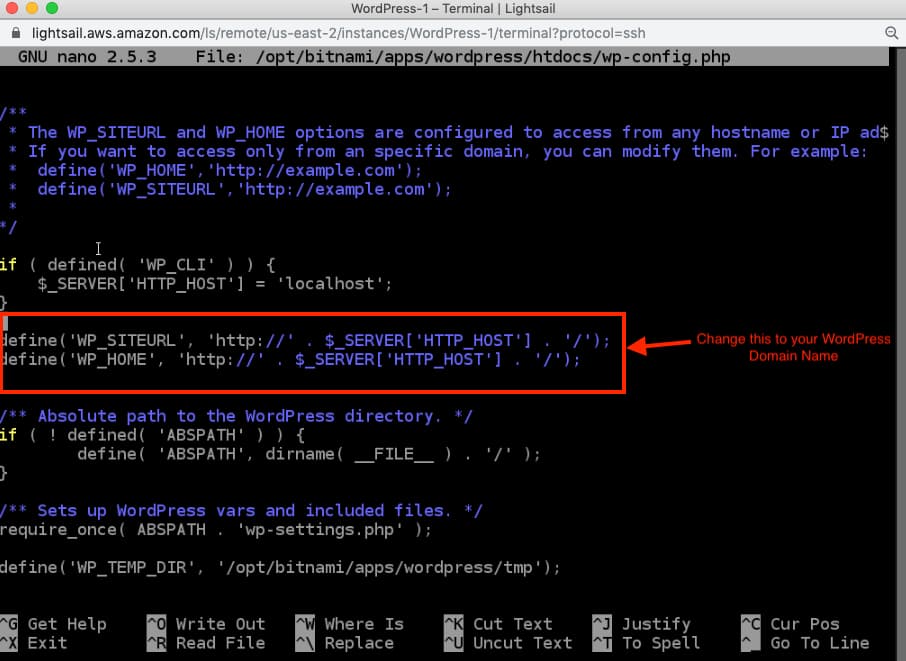
In my case, it looks like this.
define('WP_SITEURL', 'http://www.myexampleblog.com/');
define('WP_HOME', 'http://www.myexampleblog.com/');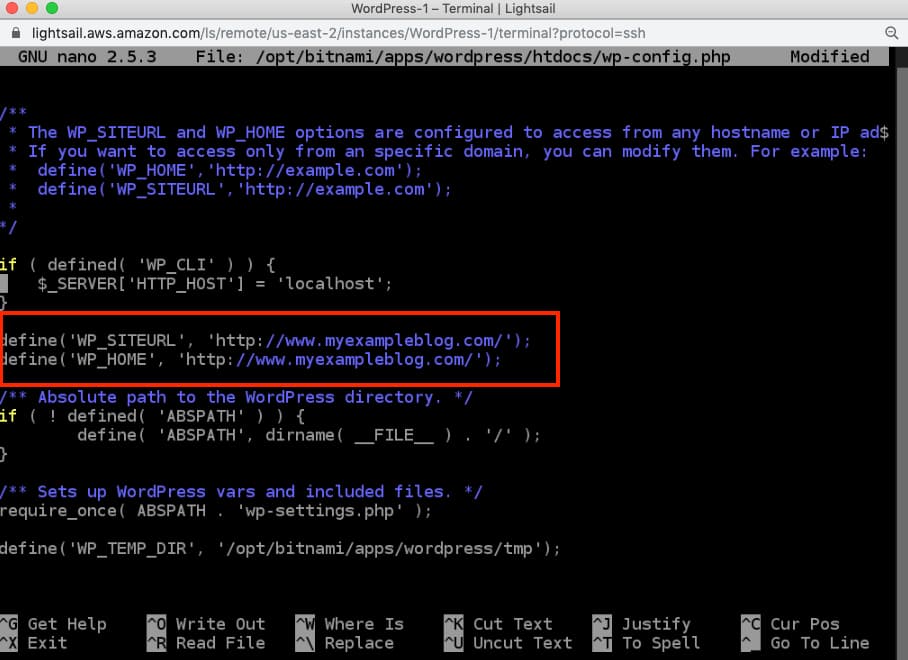
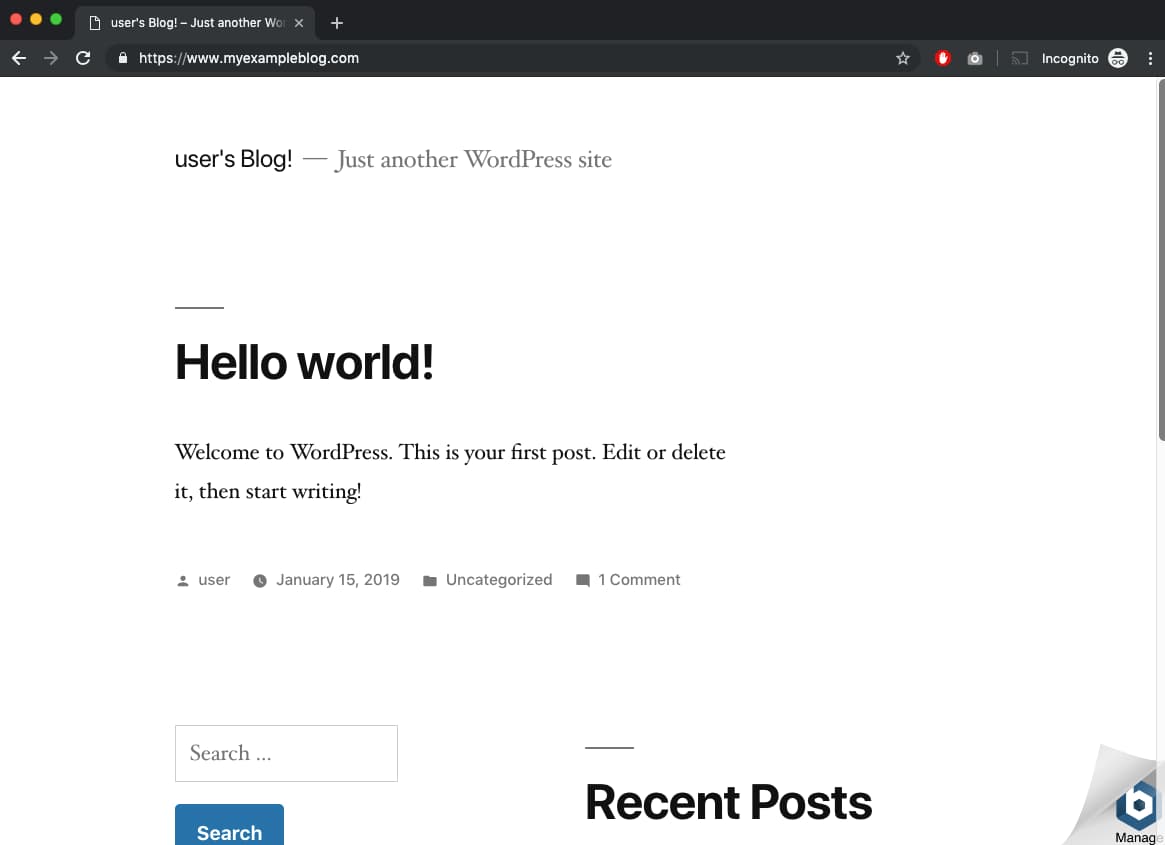
after that save the file. and if you go to your domain name you will see WordPress is loading with your domain name.
Now, your WordPress installation is complete. But, you will see the annoying Bitnami banner in the bottom right corner.
Follow this tutorial for How to Remove Bitnami Corner Banner in WordPress
Now you are good to go please feel free to comment if you face any difficulties during WordPress Installation on AWS LighSail.