
Cloudflare recently releases Automatic Platform Optimization(APO) for WordPress.
What is Automatic Platform Optimization (APO)?
In recent days modern Jamstack and static sites that live on the edge by default are catching up.
Static sites serve from CDN, and it doesn’t require the server. But, the problem with the Jamstack site is it’s not easy to change the content. And Jamstack and static sites are out of scope for the normal people who can set up a WordPress blog with a few clicks.
While WordPress is the best Content Management System(CMS) out there but, most of the WordPress sites load slower as it’s running on cheap shared hosting.
To Speed up WordPress sites, many websites use CDN. But, CDN only caches images, JavaScript, and CSS. Traditionally HTML files are not cached in the server.
While WordPress content changes frequently and it’s hard to implement caching policy on HTML files.
This issue will be solved by Cloudflare’s Automatic Platform Optimization(APO). APO will cache all static HTML files for 30 days. If anything changes in a WordPress post, it will grab the new copy and distribute it across the edge.
Let’s setup and test this feature.
Before we start this tutorial, we assume that you have set up Cloudflare and installed Cloudflare WordPress Plugin. If you haven’t set up Cloudflare, please follow this tutorial to setup Cloudflare.
How to enable Cloudflare Automatic Platform Optimization(APO)
After you set up Cloudflare for your WordPress site, enable Automatic Platform Optimization(APO) for your WordPress site login into your Cloudflare dashboard and select your site.
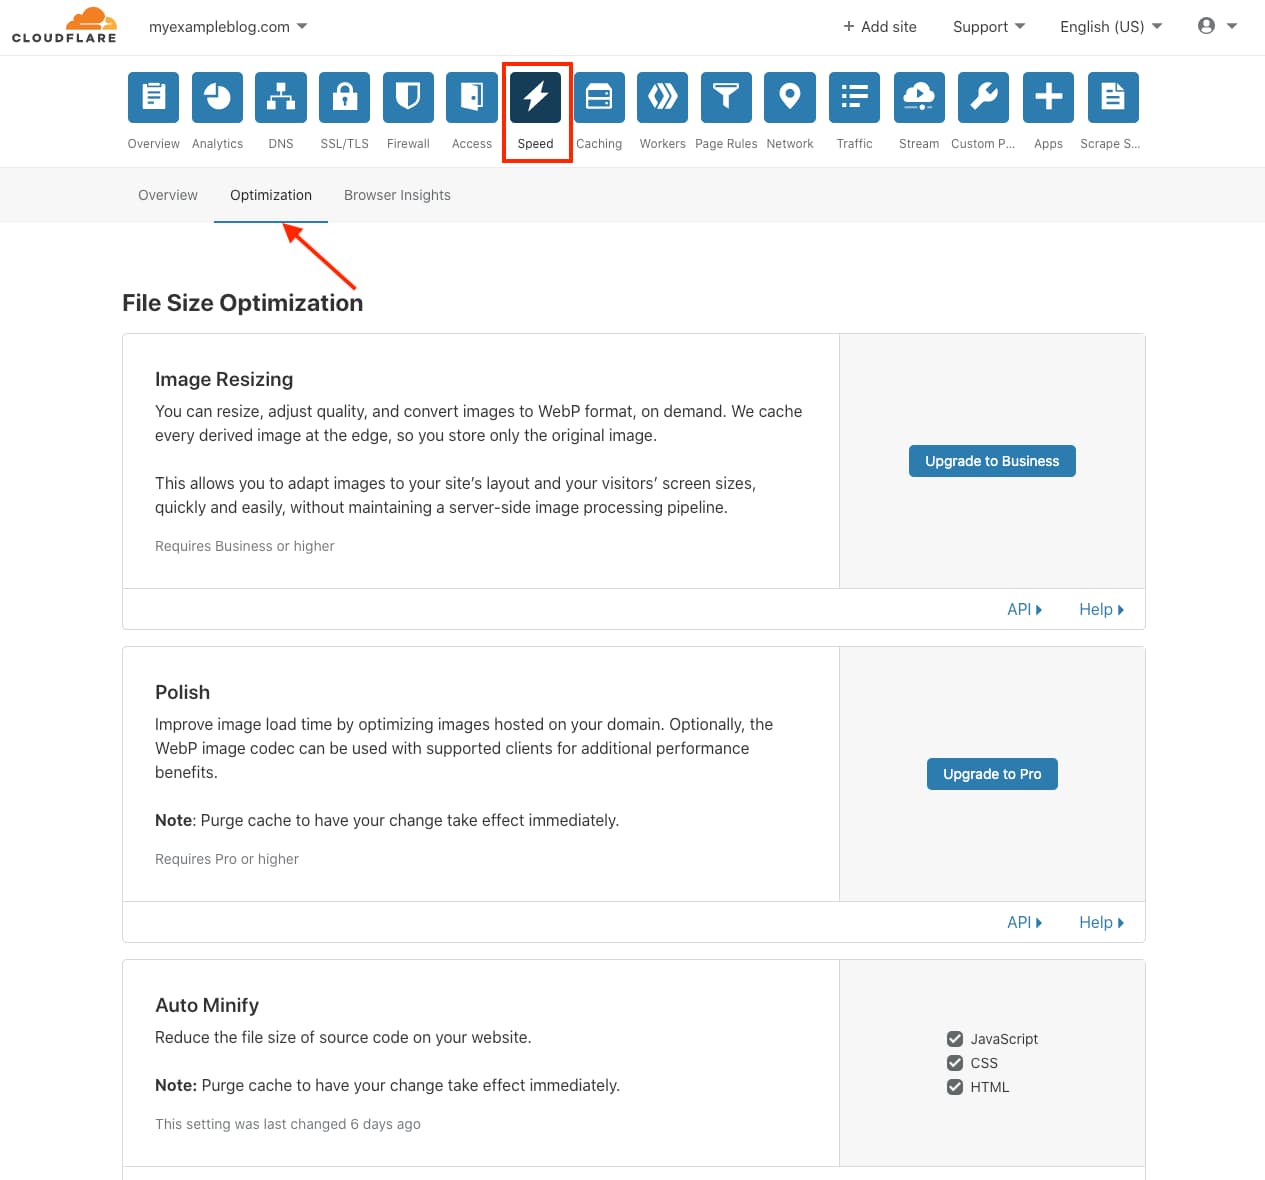
To enable APO, go to Speed > Optimization from your Cloudflare dashboard.
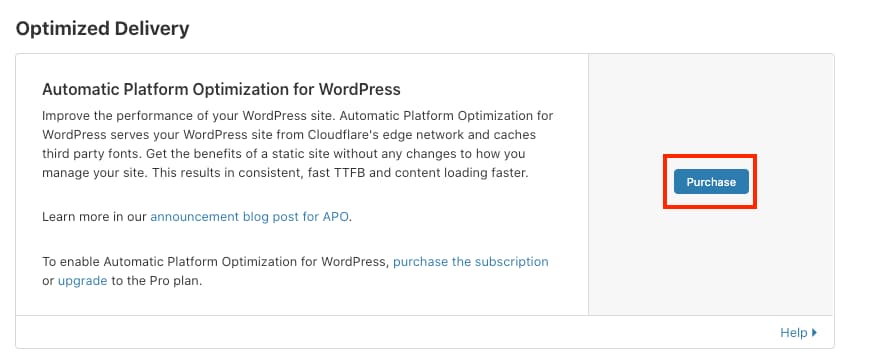
Now, Scroll down to the Optimized Delivery section; you will see the below screen go to Automatic Platform Optimization(APO). APO is included in the paid plan; otherwise, It will cost $5/month.
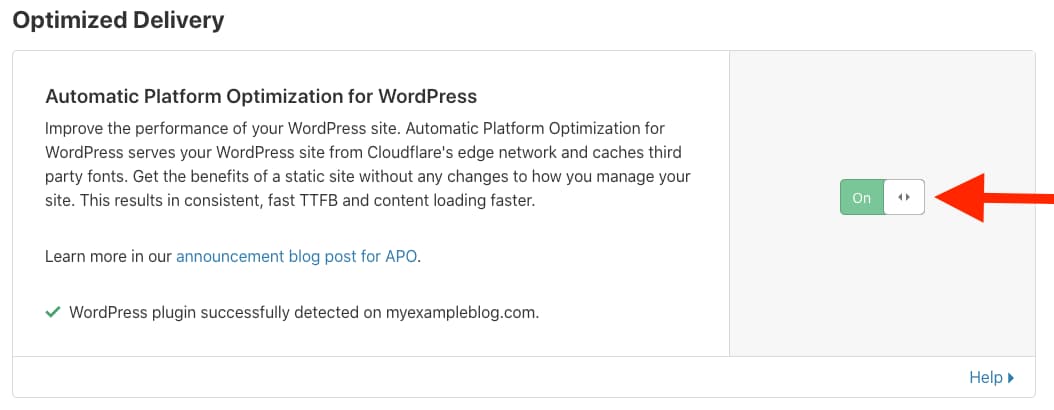
After you enabled the APO, you should see a message that says, “WordPress plugin successfully detected.” (Make sure you have installed the WordPress plugin as shown in this tutorial.)
That’s all settings we need to do.
This assumes that you have installed the Cloudflare WordPress plugin and did all the settings mentioned in this post.
Note: It’s highly recommended you install and setup the Cloudflare WordPress plugin. Otherwise, caching will not work as expected.
How to Check Cloudflare APO for WordPress is Working
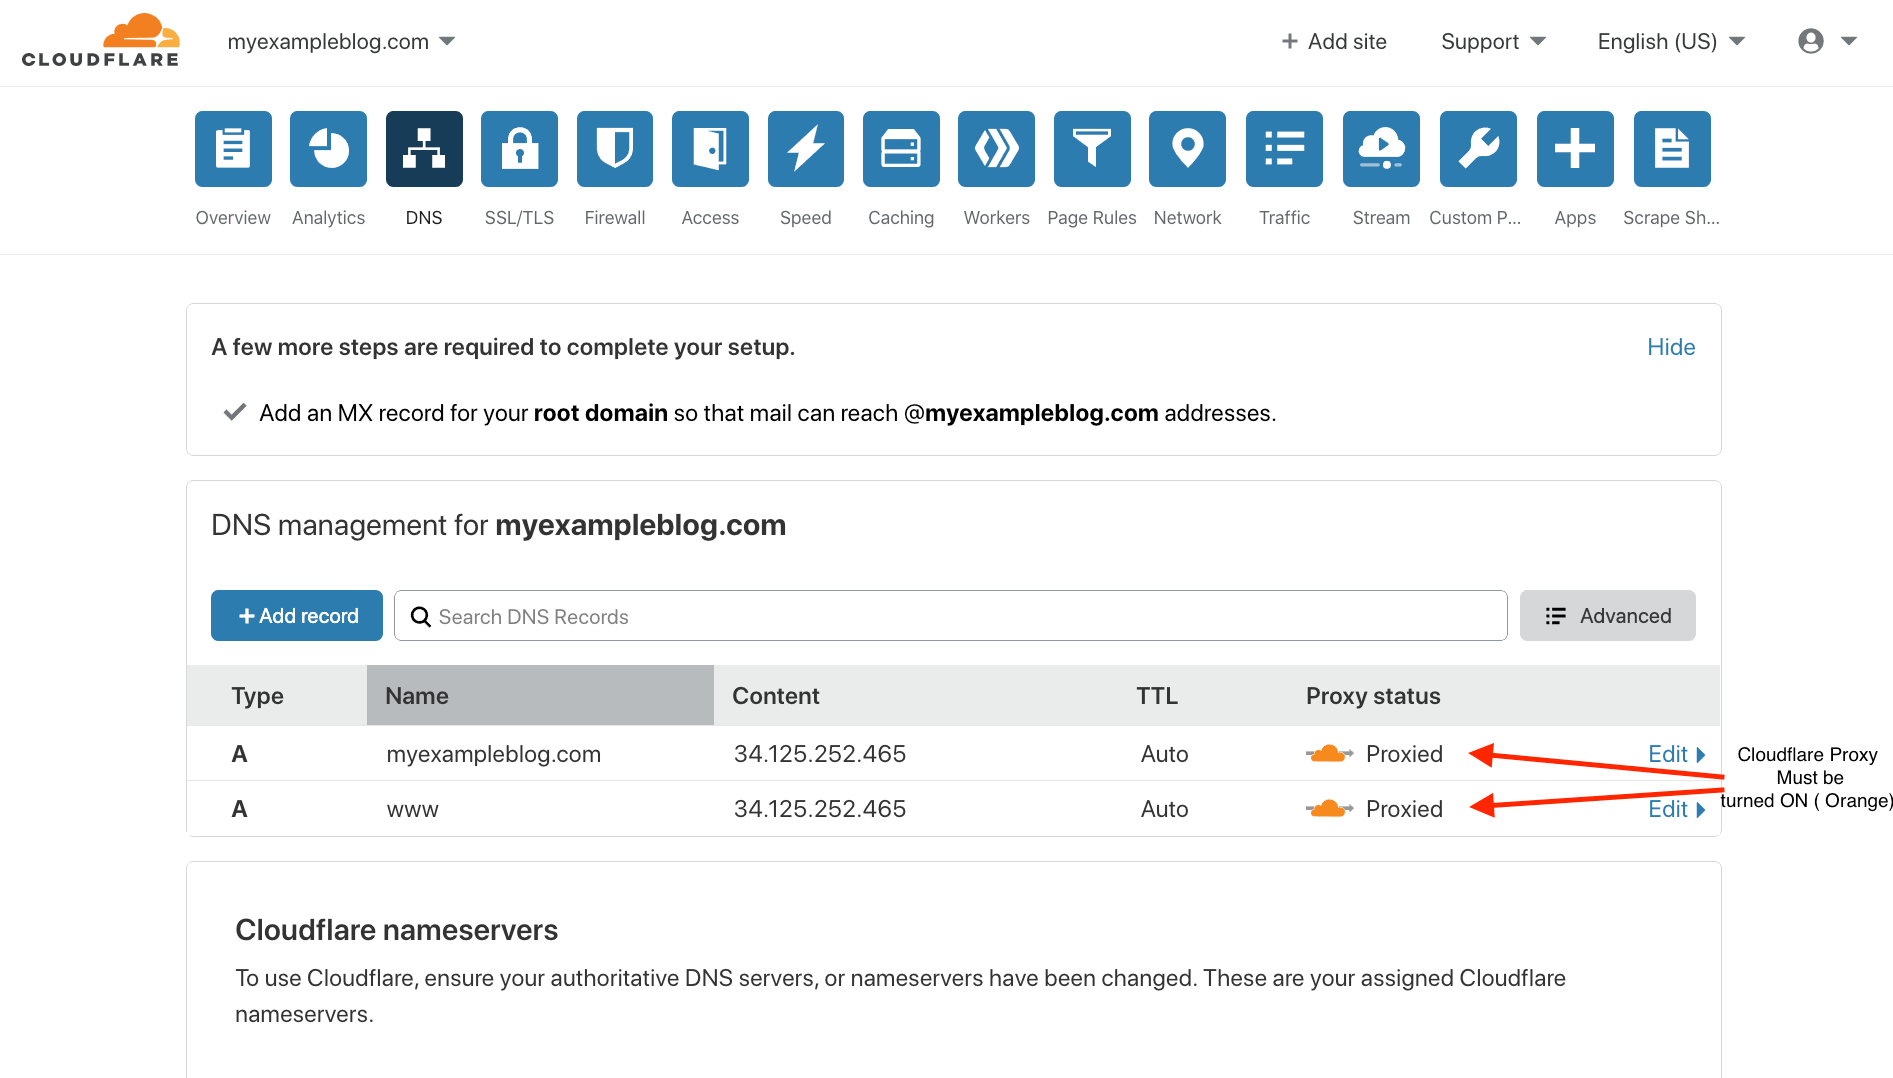
To check Cloudflare Automatic Platform Optimization(APO) is active. The first step is to make sure that Cloudflare Proxy is turned ON. Go to your Cloudflare dashboard and select your website. Now, go to DNS settings and check the Proxy is enabled (Orange) as shown below image.
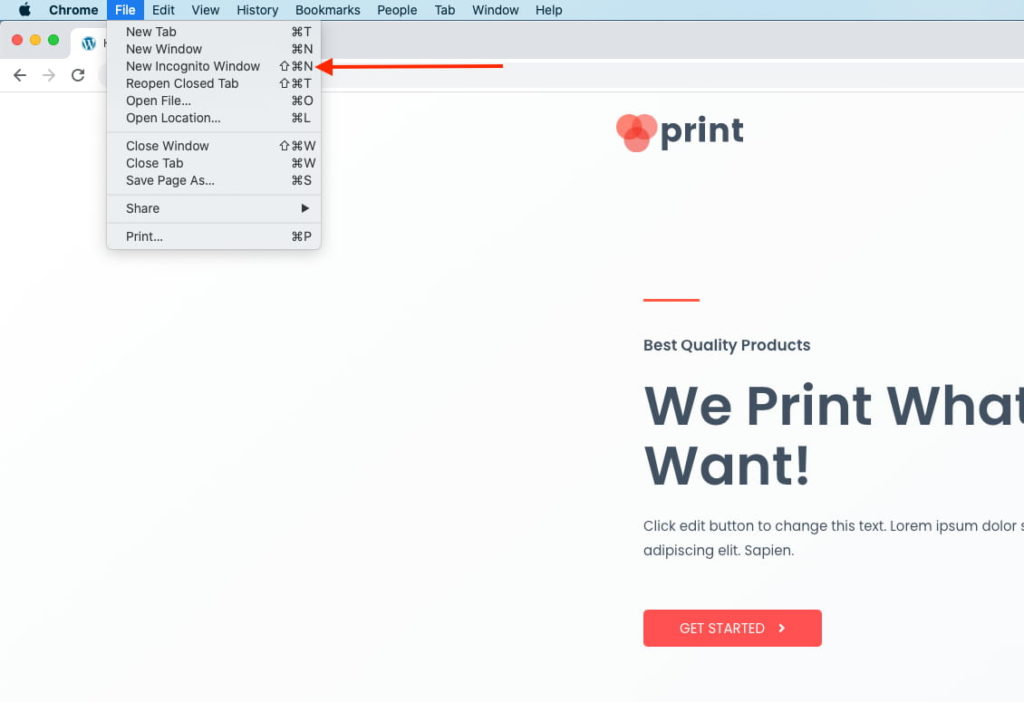
After that, go to browse’s incognito mode. I’m using Google Chrome in the example below. To get started, launch a new browser window in Incognito Mode.
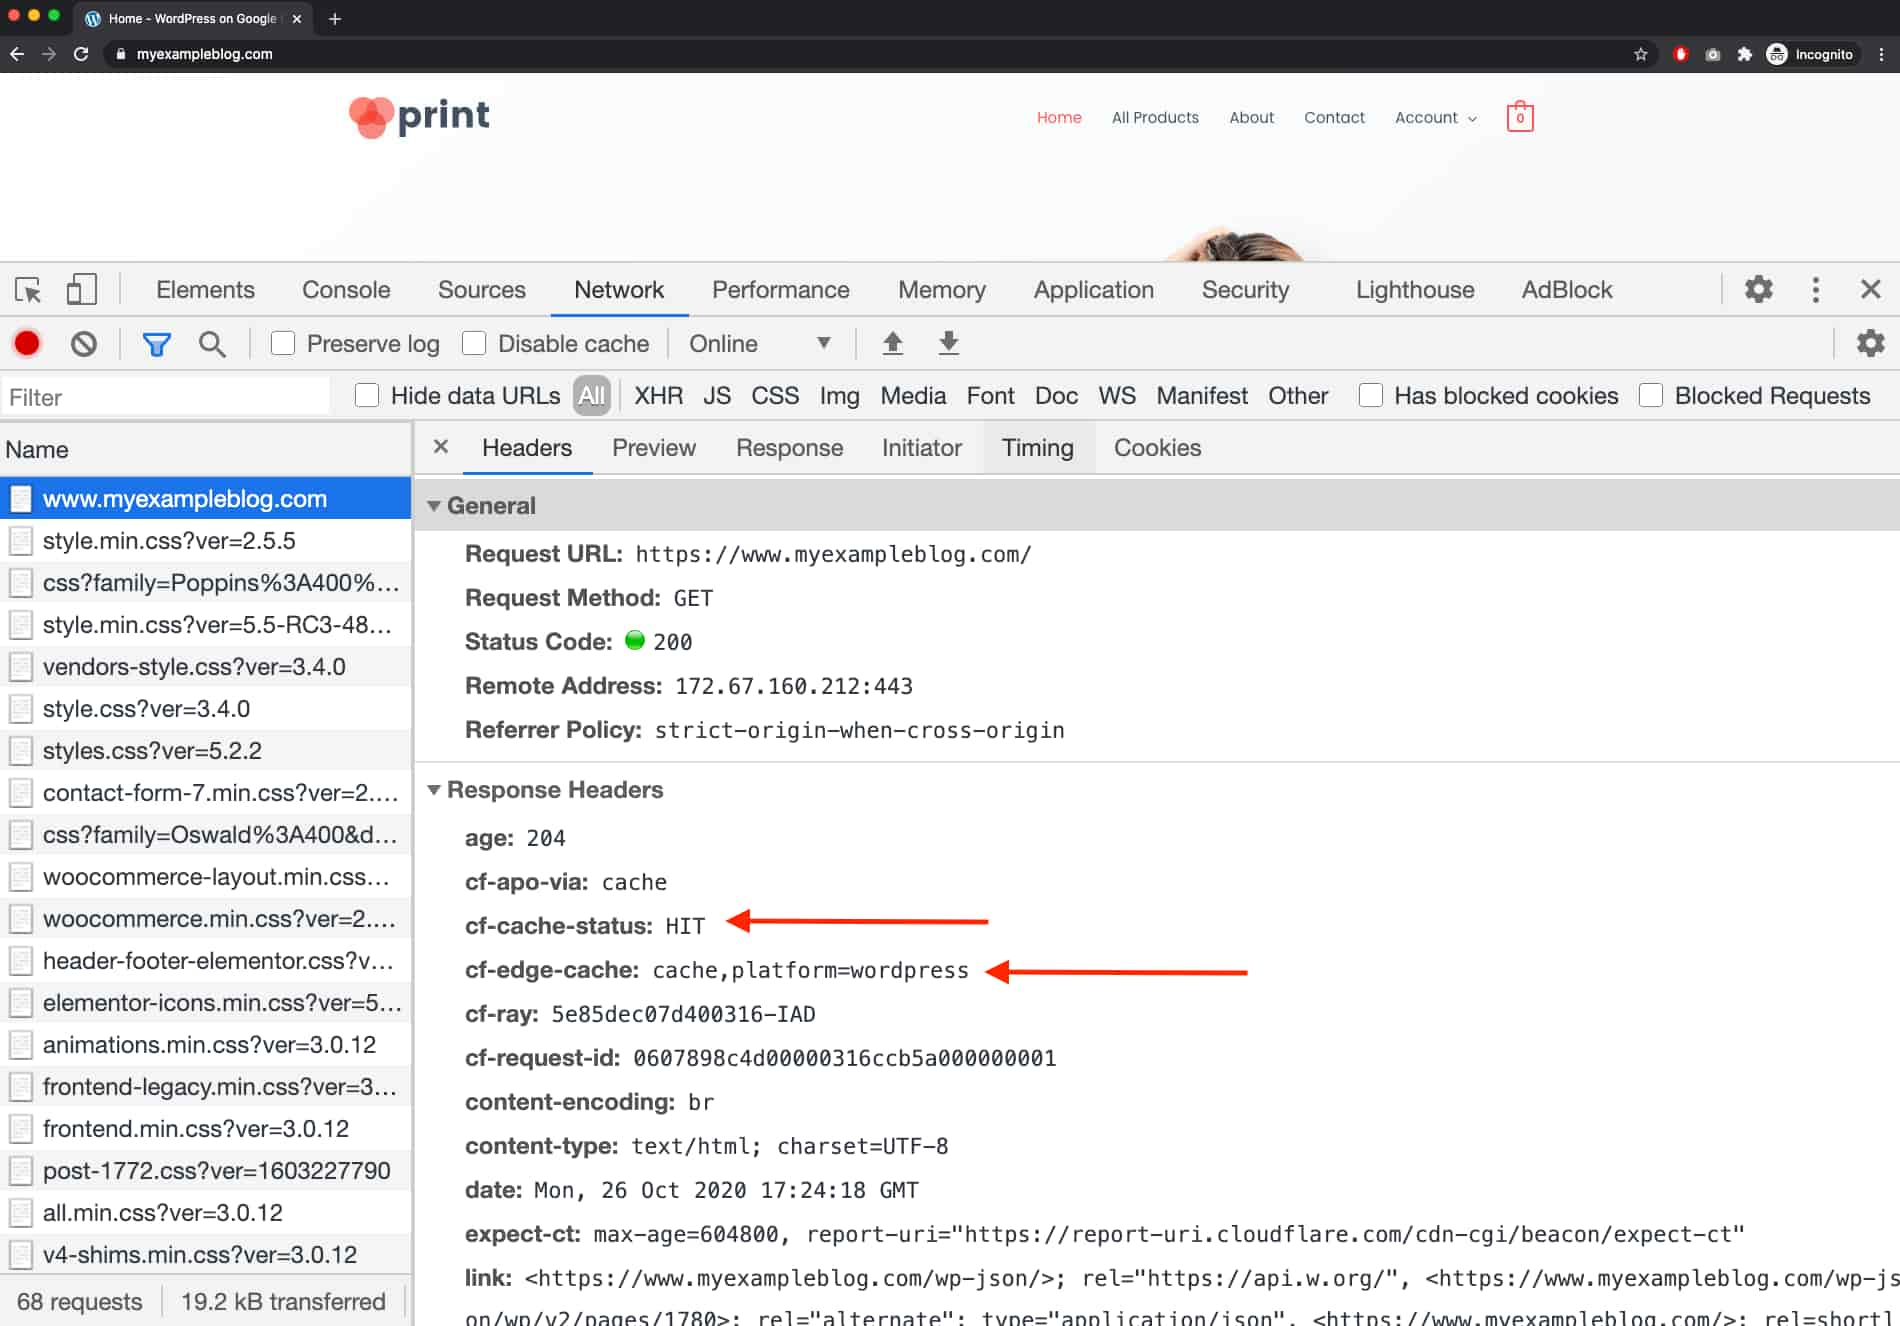
Next, go to your WordPress site, right-click on the page, and select Inspect to open the browser inspector and go to the Network tab as shown in below image.
Now, Click on the request to your root domain ( in my case www.myexample.com) you will see another tab. In that tab, click on Headers to display the HTTP response headers.
If you see the cf-cache-status: HIT and cf-edge-cache: cache,platform=wordpress in the Headers that means your site is loading from edge CDN and the APO setting is working
Once APO is enabled, you should see a following APO headers.
-
cf-cache-status: HITThis indicates that the page is being served from Cloudflare’s CDN. You may need to refresh a few times; after that, you should see a “HIT” status. If your cf-cache-status header shows “DYNAMIC” after a few refreshes, it’s possible that APO is not configured properly or the browser request is sendingcache-status: no-cache check your request header in this case. -
cf-edge-cache: cache,platform=wordpressShows that the page has been cached at Cloudflare edge server and it’s WordPress compatible page. -
age: 204Indicates the number of seconds that a page has been cached in Cloudflare’s CDN. If you refresh again, it will show a different time that indicates the time in second. Cloudflare can cache HTML edge caching with 30 days TTL. -
cf-ray: 5e85dec07d400316-IADShows that my cache ( for myexampleblov.com) is served from ( IAD – Washington DC ) data center. The ID in front is to show logs in the Cloudflare; however, logs only available for the Enterprise plan.
Loading times Before & After Cloudflare Automatic Platform Optimization(APO).
I have tested the full-load time of myexampleblog.com. To test a real-world example, this site is loaded with 25 Plugins like ( WooCommerce, Yoast, and Elementor) and running on Google cloud 1GB instance., and below you can see the significant improvement with Cloudflare APO.
| Location | With Cloudflare APO | Without Cloudflare APO | No Cloudflare (Namecheap DNS) |
| Dallas | 2.00 | 2.90 | 2.90 |
| London | 2.50 | 3.60 | 4.70 |
| Vancouver | 3.10 | 3.90 | 3.60 |
| Hong Kong | 2.80 | 4.00 | 5.20 |
| Mumbai | 3.10 | 4.60 | 6.90 |
| Sydney | 2.30 | 3.60 | 4.90 |
| Sao Paulo | 3.20 | 4.60 | 5.30 |
Summary
Cloudflare Automatic Platform Optimization(APO) for WordPress is an important feature for this year. Behind the scene, Cloudflare uses Cloudflare Workers, and Workers KV to implement the APO.
Our test shows that Cloudflare APO improves total load time up to 150% and Time to first byte (TTFB) up to 250%. This is a big improvement for slow WordPress sites.
If you are using Cloudflare APO to speed up your WordPress site and experience any issue, please let us know in the comments below!