
Cloudflare is a Web Performance & Security Company that provides Content Delivery Network, DNS, DDoS protection, and security of the website. They are the fastest DNS provider and it’s very famous for stopping of targeted DDoS attack. Cloudflare with WordPress is the best suitable option with the recent release of new features. We’re also going to installed Cloudflare WordPress Plugin for the best performance in this tutorial.
Some of the largest websites like Shopify, ZenDesk, HubSpot, DoorDash use the Cloudflare service. Cloudflare provides a very generous free plan to start with, you will not need to be on a paid plan for this tutorial.
Cloudflare claims that they make your website very fast. Let’s start with some fact, I have a website that is not running on a single server on the Google Cloud platform and I’m going to set up Cloudflare with WordPress.
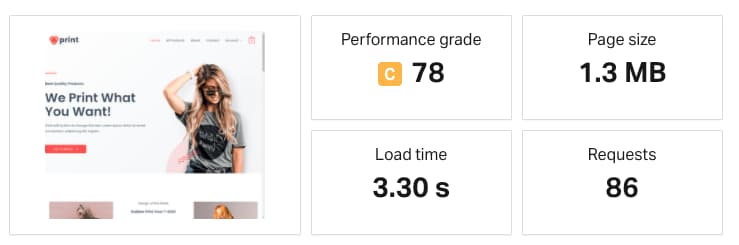
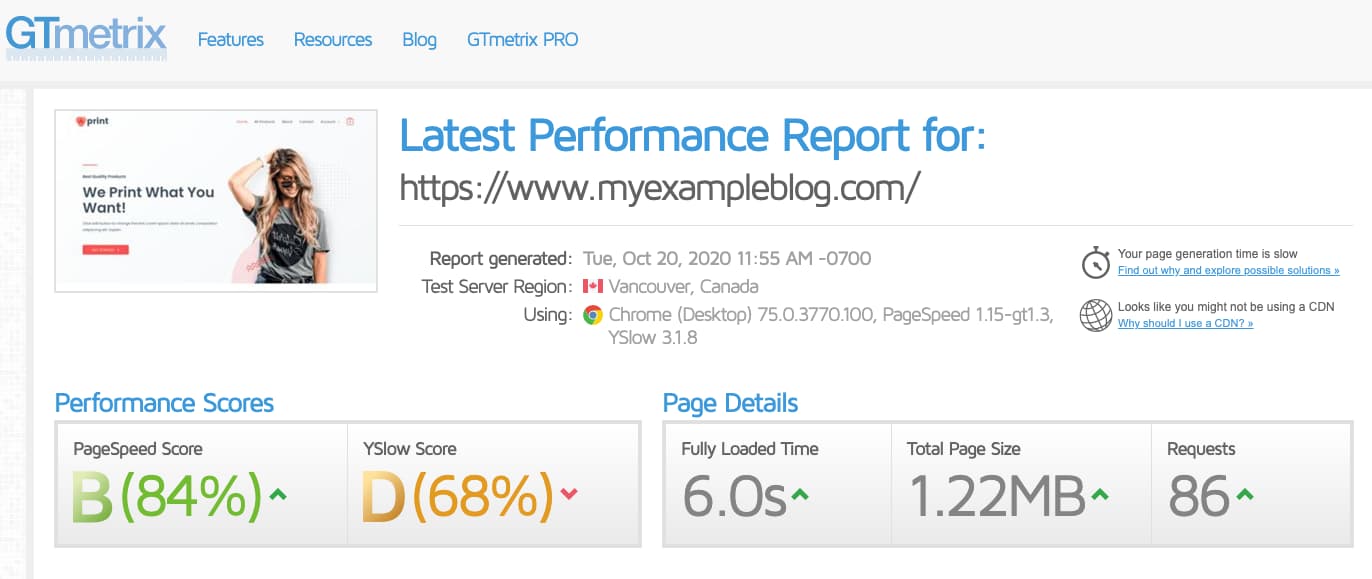
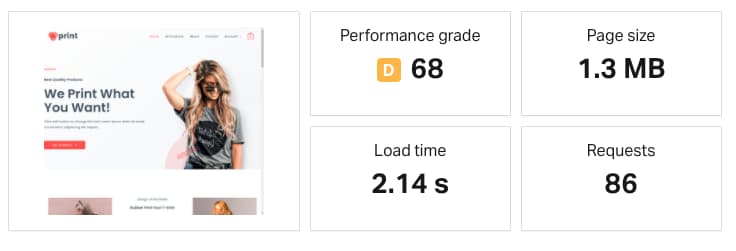
Here is the total load time of my WordPress site myexampleblog.com before the Cloudflare setup.
Setup Cloudflare for WordPress
Let’s start with the Cloudflare setup for your WordPress site. This tutorial assumes you already have a Cloudflare account. If you don’t, you can visit Cloudflare and signup for a free account.
Step 1. Create your free Cloudflare account
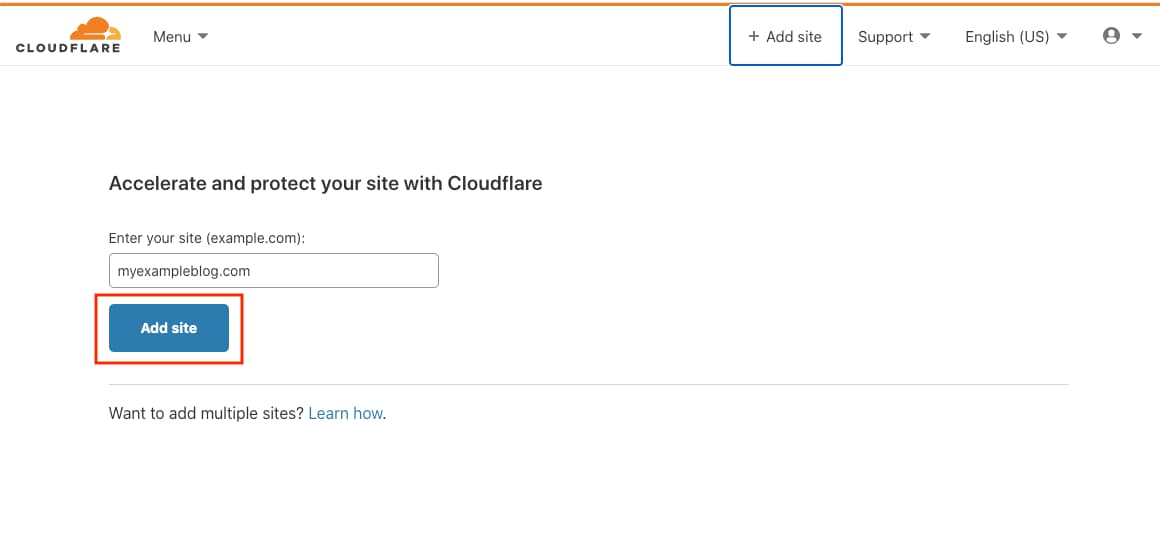
Log in to the Cloudflare account and on the dashboard click on + Add Site.
You don’t need to add www or HTTP/HTTPS, just add root domain.
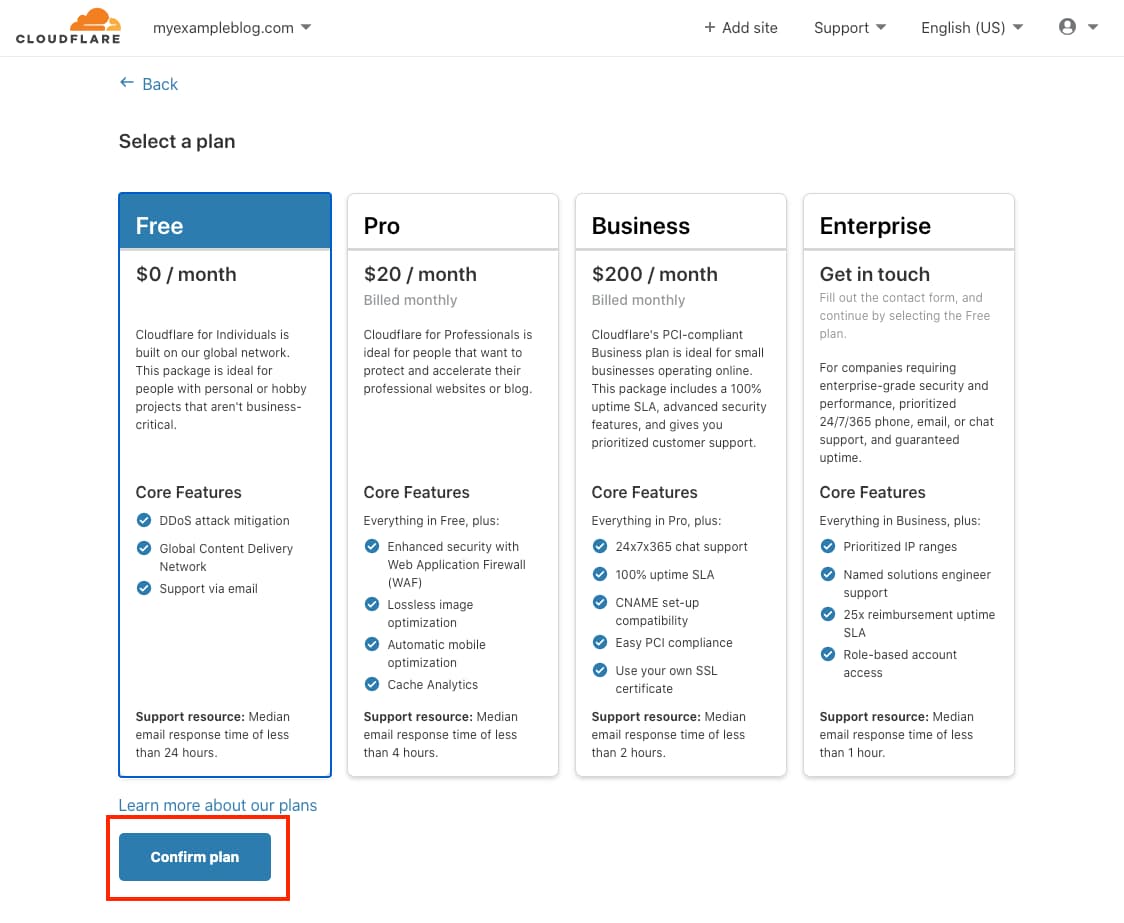
The next screen is to select the plan, select the Free Plan for the setup, and click on the Confirm plan.
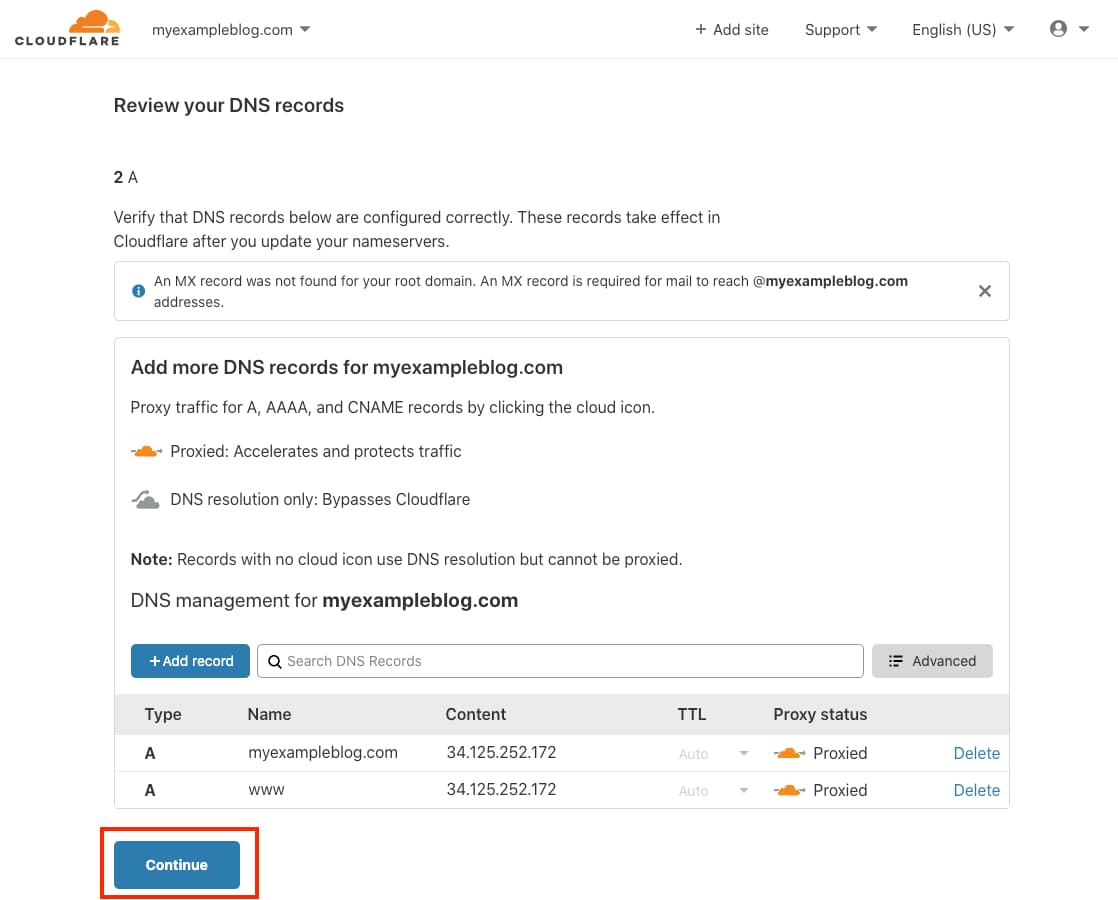
Step 2 Verify DNS records
Cloudflare will fetch all your DNS records here. sometimes you will not see all the records shown up here, so make sure to check all DNS records.
Here you have options to use Cloudflare only for DNS and not for other services like CDN, firewall, and DDoS protection. But, we are going to use Cloudflare for all service so make sure to check your proxy status cloud is Orange.
Important Note: If you have additional records, such as Gmail or another email service (like MX or TXT records), then Cloudflare Proxy (grey) should be turned off.
Click on continue after you have checked everything. You can modify these records later if you want to add or remove records.
Step 3 Change the nameservers to point to Cloudflare
In this step, you will need to change the nameservers on your domain to point to Cloudflare.
Cloudflare is a full proxy service that provides DNS, CDN, DDoS, SSL, and firewall in one service you can’t use Cloudflare for just CDN or SSL.
Basically, Cloudflare will be a proxy between your WebServer and Domain.
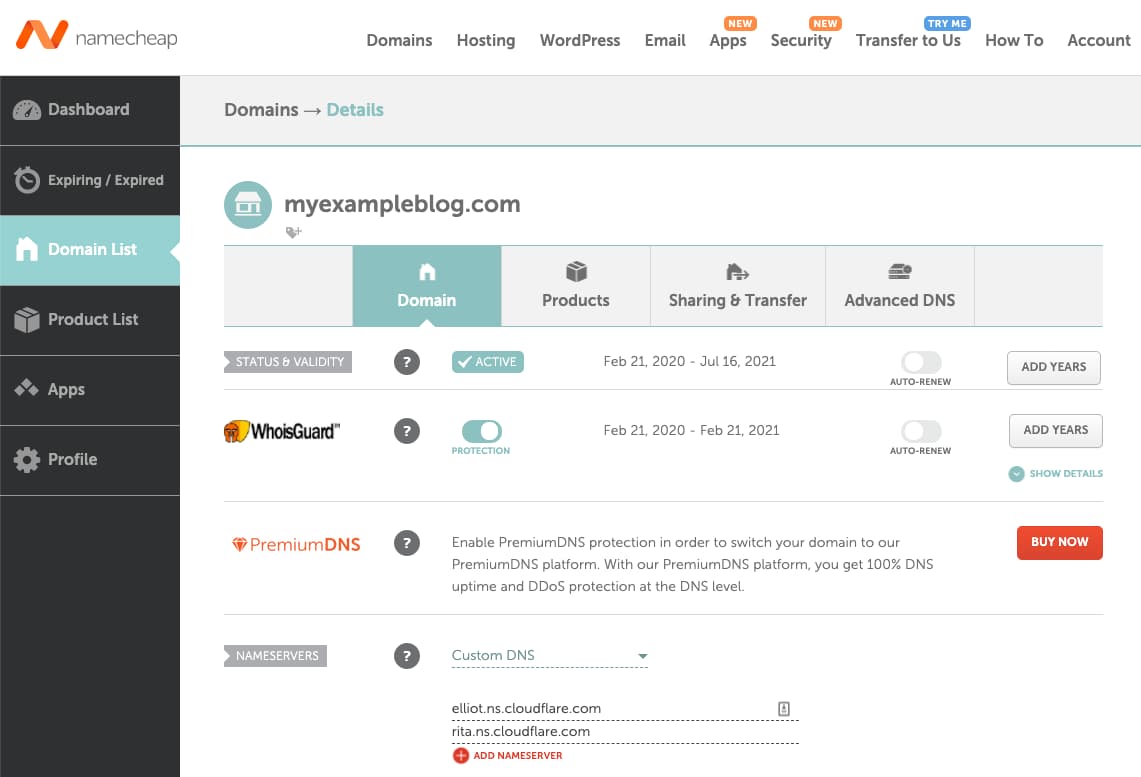
Now, copy Nameserver 1 and Nameserver 2 and add to your Domain registrars. In my case, I’m using Namecheap for my domain.
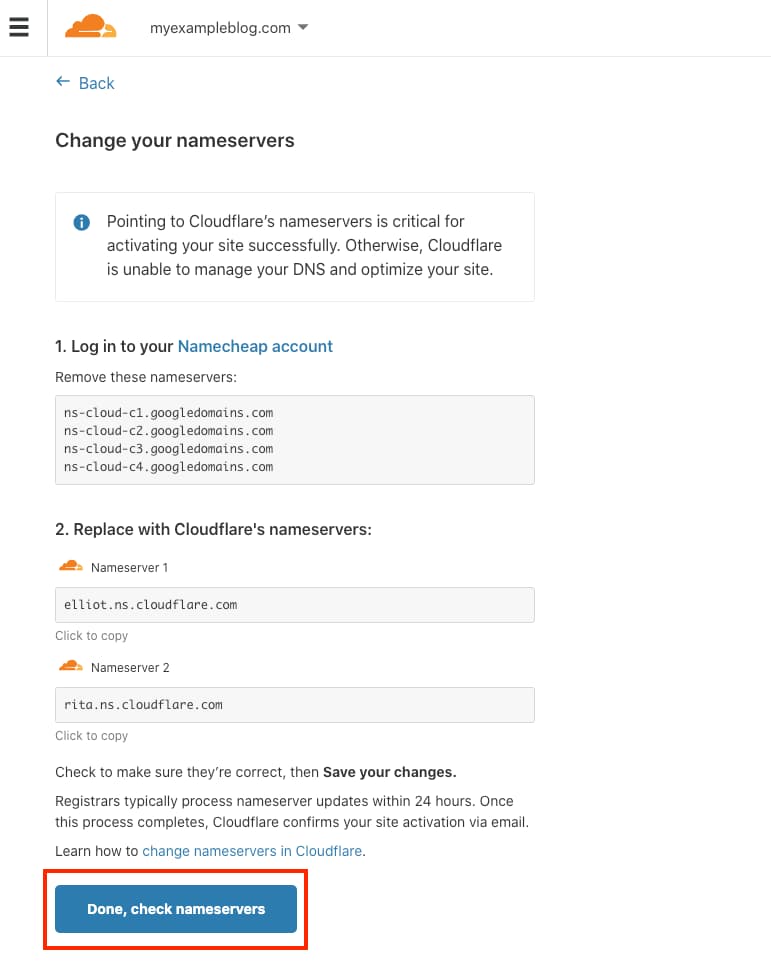
Go to your domain settings and change the NameServer points to Cloudflare Nameservers.
Now, Click on Done, check nameservers on the Cloudflare portal.
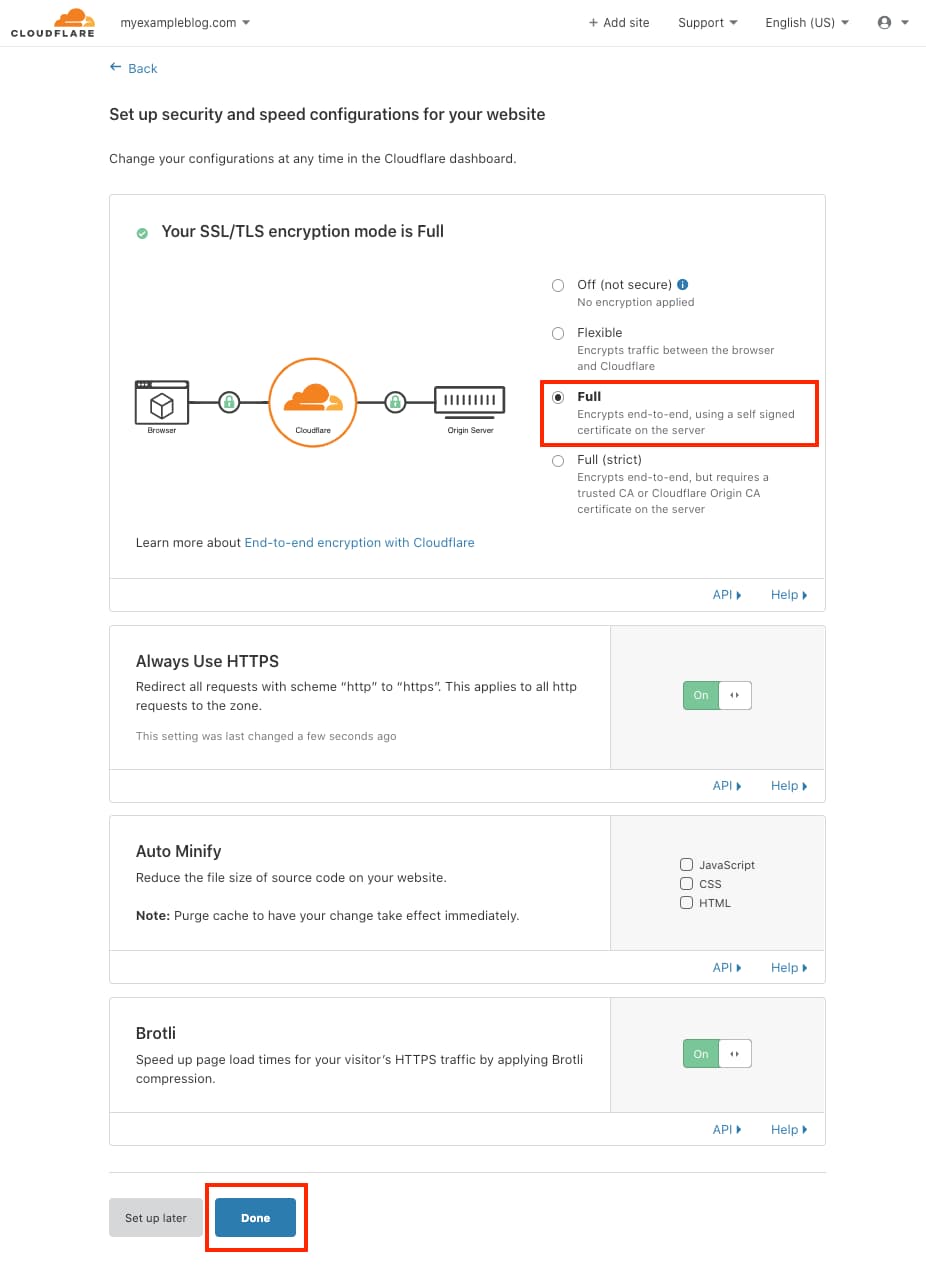
Step 4. Configure basic settings
On the next screen, you will see the SSL & HTTPS setting.
As I already have SSL on my site, I selected Full SSL. If you don’t have SSL on your site yet, then select Flexible SSL. (After setting up Cloudflare, If your site is broken then most of the time issue is related to wrong SSL Settings.).
If you already have SSL, then turn on Always use HTTPS and click on Done.
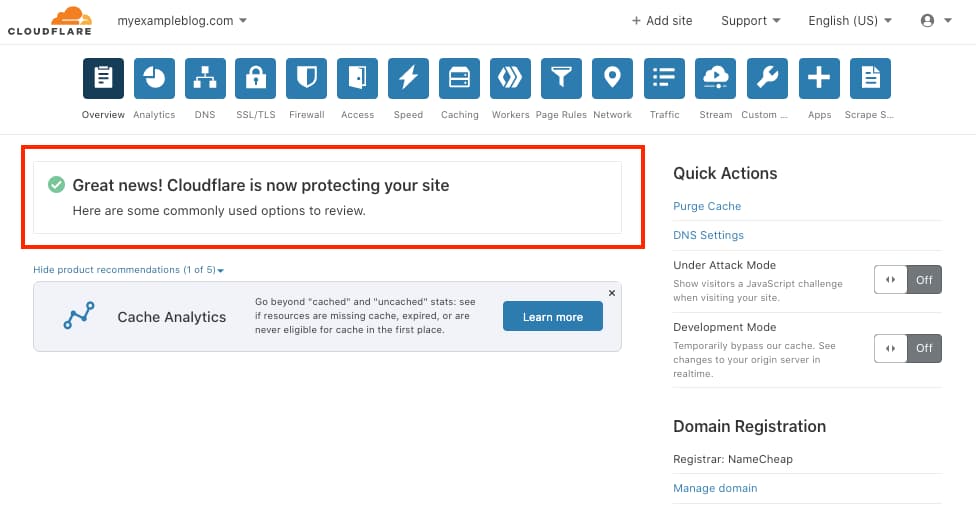
After you click on done on the next screen you will see the banner that shows Cloudflare is now protecting your site.
If you don’t see the banner then refresh the screen, name server propagation takes time but, nowadays with good registers like GoDaddy and Namecheap, it’s instant. ( for me it was instant)
If your name server is not propagated, then please check at Mxtoobox to verify the Nameserver propagation.
If you find any issue with this step, please leave a comment below in the comment section.
At this step your Cloudflare setup is done, please check your website and make sure it’s up and running. You will some performance improvement on your website.
But, we’re going to use Cloudflare recommended WordPress settings to speed up our website.
Step 5. Install & configure the official Cloudflare WordPress plugin.
In this step, we will make some additional settings recommended by Cloudflare. To do that Cloudflare has an official Cloudflare plugin.
You can install the Cloudflare WordPress plugin by searching for it within your WordPress dashboard under “Add New” plugins.
After that, if you go to Setting -> Cloudflare, you will see the below screen.
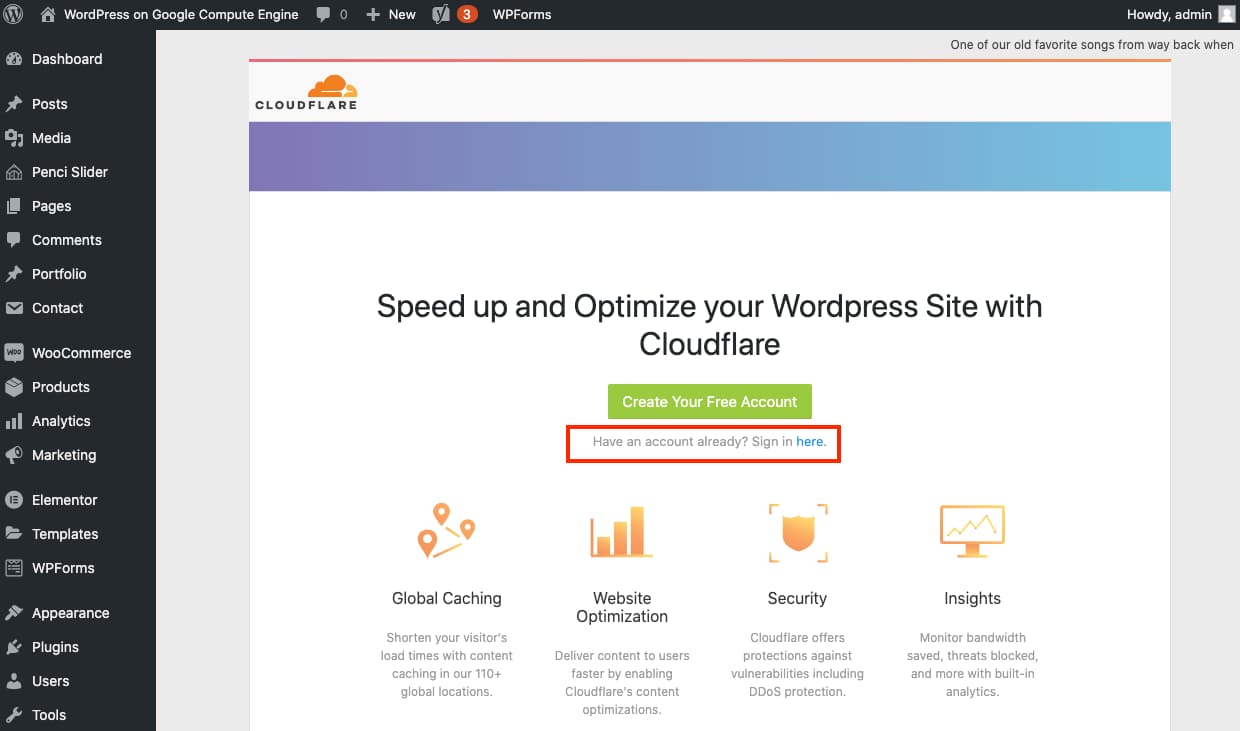
Click on the Sign in here and add the credentials.
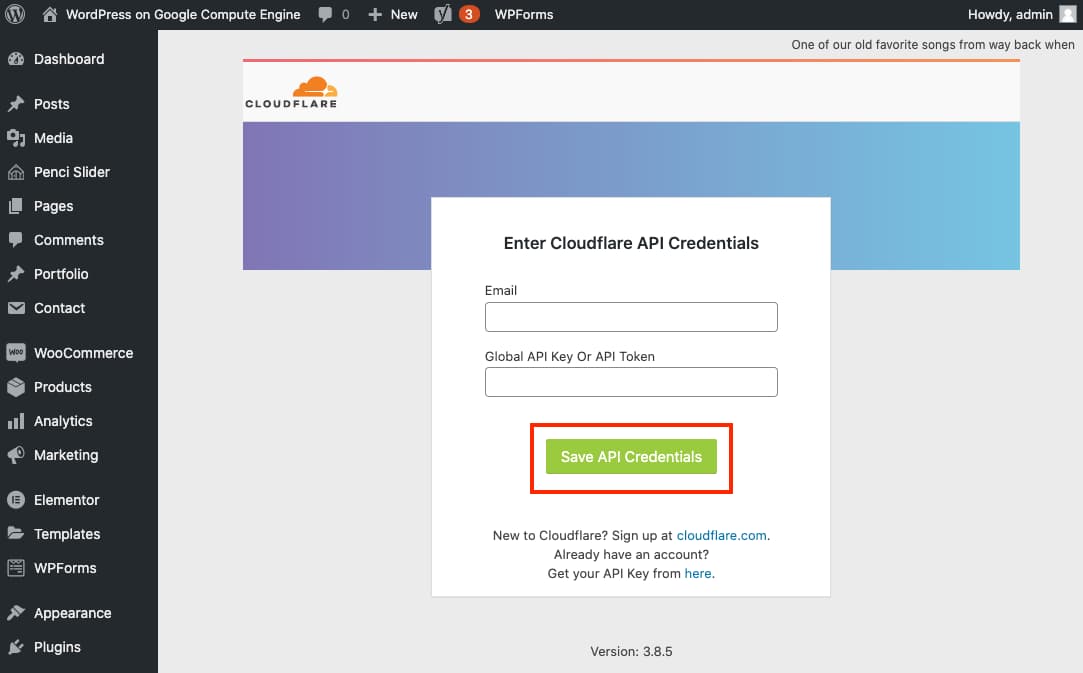
Add the Cloudflare login email as an email. and you can get the Global API key from by clicking here from your Cloudflare dashboard.
Once you activate the plugin, you’ll see an Apply Recommended Cloudflare settings for WordPress option.
Click Apply to automatically apply your Cloudflare settings for WordPress:

And That’s it for the Cloudflare for WordPress setup!
If you need help during setup please reply in the below comment section.
After I setup the Cloudflare, I tested again and I see significant improvement in load time. As this setup enabled CDN by default.

We hope this article helped you to learn how to set up Cloudflare for your WordPress site.
If you have any questions or comments, please don’t hesitate to post below.